How to Get GST Certificate Online in India – Step by Step Guide
-

- by MI September 11, 2025
If you are running a business in India, having a GST Registration Certificate (Form REG-06) is mandatory once your turnover crosses the threshold. The GST certificate serves as proof of registration under Goods and Services Tax (GST) and must be displayed at your place of business.
In this guide, we will explain step by step how to apply, register, and download your GST certificate online.
What is a GST Certificate?
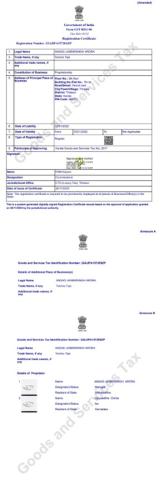
A GST Certificate is an official document issued by the GST Department after successful registration. It contains your GSTIN (Goods and Services Tax Identification Number), legal name, trade name, business address, and date of registration.
This certificate is digital only – you must download it from the GST portal. No physical copy is sent by mail.
Who Needs GST Registration?
You must apply for GST registration if:
- Your annual turnover is above ₹40 lakh for goods (₹20 lakh for services).
- You are an e-commerce seller (Amazon, Flipkart, etc.).
- You are involved in inter-state supply of goods or services.
- You want voluntary registration to avail input tax credit.
Documents Required for GST Registration
Keep scanned copies (PDF/JPEG) of the following:
- PAN card of business or proprietor
- Aadhaar card of owner/authorized signatory
- Proof of business registration (Partnership deed / Incorporation certificate)
- Address proof of business (electricity bill / property tax / rent agreement + NOC)
- Bank statement or cancelled cheque
- Photograph of proprietor/partners/directors
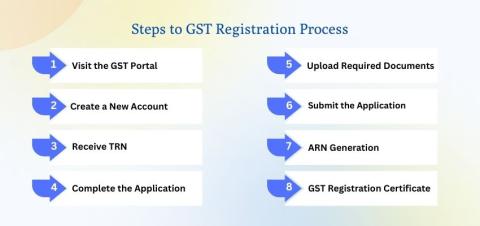
Step-by-Step Process to Get GST Certificate Online
Step 1: Visit GST Portal
Go to www.gst.gov.in → Services → Registration → New Registration.
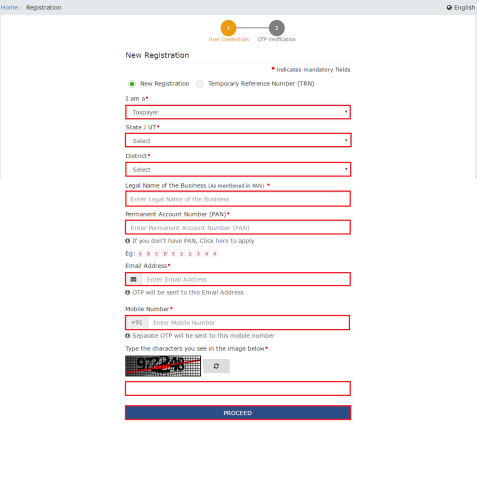
Step 2: Fill Part-A (Basic Details)
- Select Taxpayer
- Choose State/UT
- Enter Legal Name (as per PAN), PAN, Email, Mobile
- Verify via OTPs on email & mobile
- Receive a TRN (Temporary Reference Number)
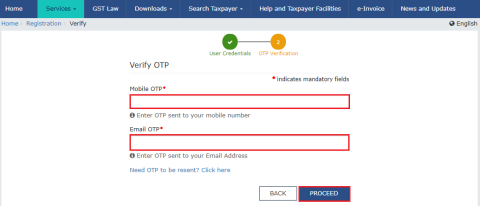
Step 3: Login with TRN & Fill Part-B
- Enter TRN → Captcha → OTP verification
- Complete tabs: Business details, Promoter/Partner, Authorized Signatory, Principal Place of Business, Goods/Services (HSN/SAC codes)
- Upload required documents
Step 4: Verify & Submit Application
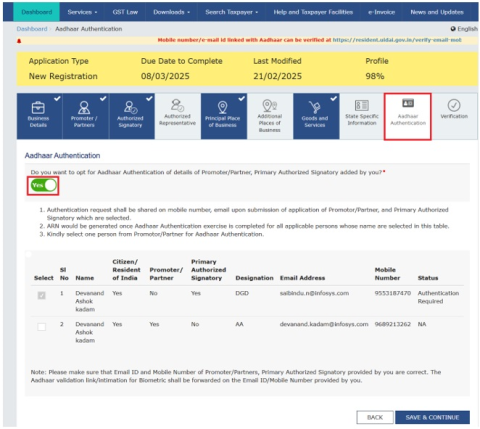
- Sign using EVC (OTP), e-Sign (Aadhaar OTP), or DSC (Digital Signature)
- Submit → You receive ARN (Application Reference Number)
Step 5: Application Verification
- GST officer reviews application (usually 3–7 working days)
- If any clarification is needed, you may get a notice on the portal
Step 6: Download GST Certificate
- After approval, login → Services → User Services → View/Download Certificates

- Download Form REG-06 (GST Certificate)
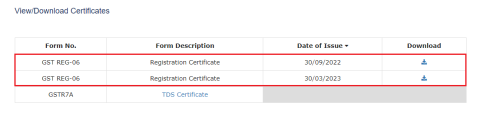
- Print & display it at your business location
Sample GST Certificate
Key Points to Remember
- GST Certificate is not sent by post, only downloadable online.
- Must be displayed at your principal place of business.
- Ensure all documents match PAN/Aadhaar details to avoid rejection.
See More Related Blog
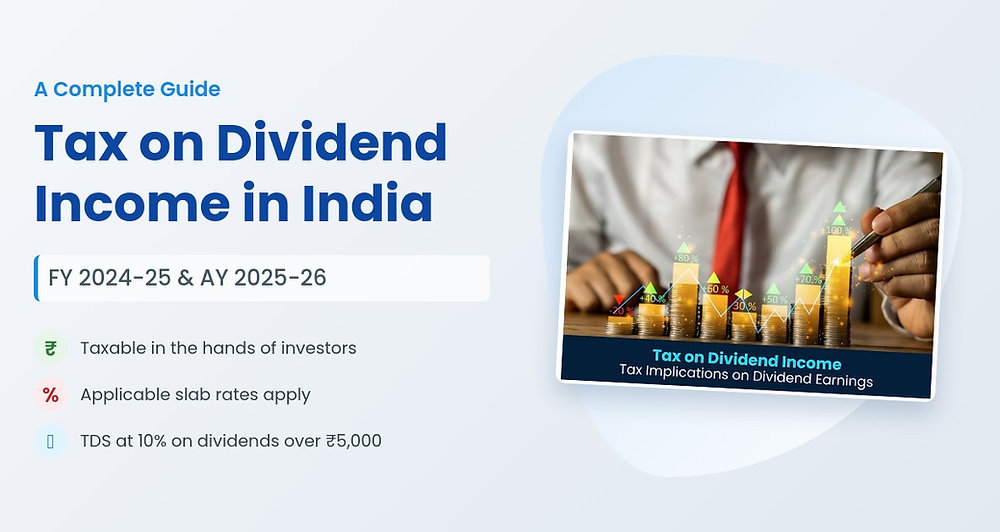
Latest Rules for Taxation on Dividend Income in India 2025
-
- by MI
Dividend income has become an important source of earnings for investors in India, whether from shares, mutual funds, or corporate deposits. The rules for taxation of…

Latest Income Tax Benefits on Home Loan Interest & Principal Repayment in 2025
-
- by MI
Owning your own home is a dream many work towards—and the government encourages this by offering significant tax benefits on home loans. In 2025, updated rules continue…
Income Tax on Fixed Deposit (FD) Interest in India 2025: TDS Rules and Exemptions
-
- by MI
Fixed Deposits (FDs) remain one of the most popular investment options in India. However, the interest earned on FDs is not tax-free. In 2025, taxpayers must understand…
FTA Export Countries from India: Complete Guide for Exporters 2025
-
- by MI
India has actively signed Free Trade Agreements (FTAs) with several countries and regions to boost exports, improve global competitiveness, and strengthen international…
FTA vs Non-FTA Countries for Indian Exporters: Benefits, Challenges, and Trade Insights 2025
-
- by MI
India is rapidly expanding its global trade footprint, and Free Trade Agreements (FTAs) are playing a central role. However, not all of India’s trade partners fall under…
How Free Trade Agreements (FTAs) Impact Indian Exporters
-
- by MI
Free Trade Agreements (FTAs) play a crucial role in shaping India’s international trade landscape. By reducing tariffs, easing trade barriers, and improving market…

GST 2.0 India 2025: Complete Guide for Exporters and Businesses to File Returns and Get Refunds
-
- by MI
Learn about GST 2.0 in India, its key updates for 2025, how it affects exporters and businesses, filing processes, and practical tips to stay compliant.
How to Export Pharmaceuticals from India: Step-by-Step Guide for 2025
-
- by MI
India has emerged as one of the leading exporters of pharmaceutical products globally, supplying high-quality medicines, APIs, and formulations to over 200 countries.
Top Asian Countries for Indian Exporters in 2025 | Export Opportunities
-
- by MI
Asia is a dynamic market for Indian exporters, offering immense opportunities across various sectors such as agriculture, textiles, machinery, chemicals, and…
How to Export Plastic Products from India Step by Step
-
- by MI
India is a major manufacturer of plastic products such as packaging materials, household items, industrial components, and consumer goods. With increasing demand…
How to Export Organic Honey from India Step by Step
-
- by MI
India is one of the leading producers of organic honey in the world. With increasing global demand for natural and chemical-free products, Indian organic honey is…
How to Export Coffee from India: Step-by-Step Guide
-
- by MI
India is the world’s sixth-largest producer of coffee, famous for its Arabica and Robusta varieties. Indian coffee enjoys strong demand in global markets like Europe,…
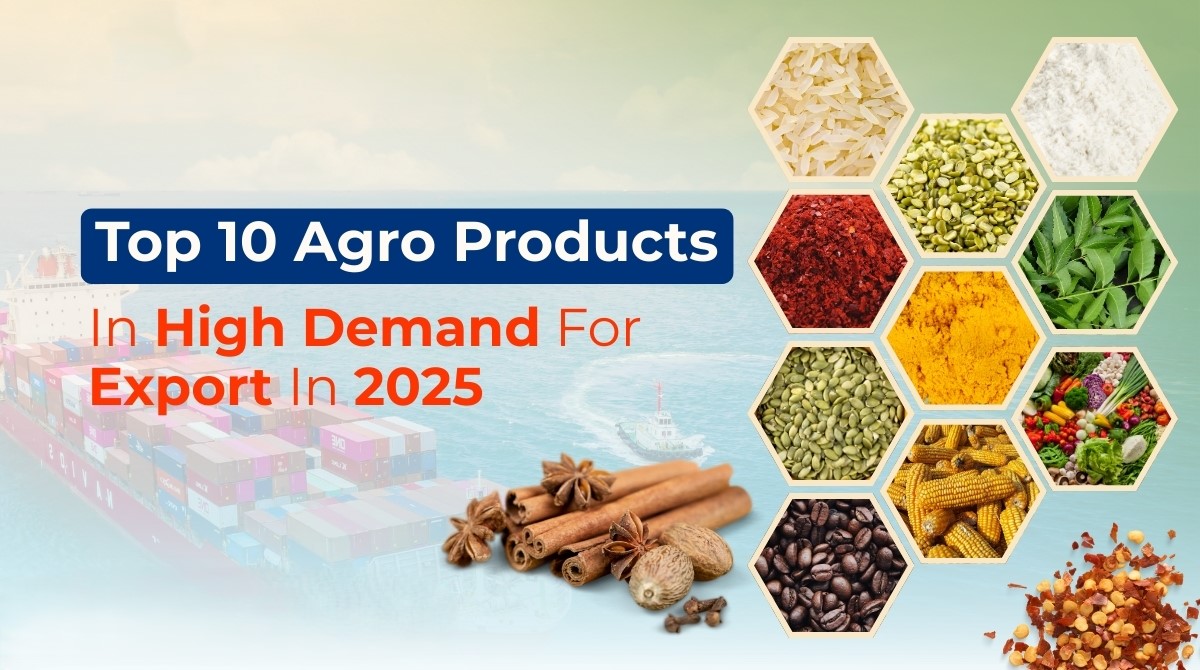
Best Indian Agro Commodities for Export in 2025
-
- by MI
India is one of the world’s leading producers of agro commodities, exporting to over 100 countries. With increasing demand for organic, processed, and high-quality…
Best Indian Fruits with High Global Export Demand in 2025 | Top Export Opportunities
-
- by MI
India is one of the world’s leading producers of fresh fruits, making it a major player in the global export market. With increasing demand for organic, tropical, and…

How to Use Social Media to Grow Your Export Business in 2025
-
- by MI
In today’s digital-first world, social media has become a powerful tool for exporters to reach international buyers, build trust, and increase sales.

Top Indian Jewelry Products in Demand Abroad: Export Opportunities in 2025
-
- by MI
Indian jewelry is admired worldwide for its craftsmanship, cultural heritage, and premium quality. From traditional gold ornaments to contemporary diamond-studded pieces…
Top Gulf Countries for Indian Exporters in 2025: Best Markets and Opportunities
-
- by MI
The Gulf region continues to be one of the fastest-growing export markets for India. With strong trade relations, increasing demand for Indian products, and strategic…

How to Export Leather and Handicrafts from India: Step-by-Step Guide for 2025
-
- by MI
India is globally renowned for its leather products and handicrafts, including bags, belts, wallets, footwear, home décor, and traditional handmade items.
How to Export Jewelry and Gemstones from India: Step-by-Step Guide for 2025
-
- by MI
India is renowned for its jewelry and gemstone industry, exporting gold, silver, diamonds, and precious stones to international markets.
How Technology is Transforming the Import Export Business
-
- by MI
Technology has completely reshaped the way global trade functions. From digital documentation to AI-driven logistics, the import-export business is becoming faster, more…

Top Indian Herbal Products with High Global Demand in 2025
-
- by MI
India, the land of Ayurveda, has been a leading producer of herbal and natural remedies for centuries. With the global shift towards wellness, organic products, and…
How to Export Automobile Parts from India: Step-by-Step Guide
-
- by MI
India is one of the world’s fastest-growing automobile parts exporters, supplying components like engines, gearboxes, brakes, and electrical systems to markets across…
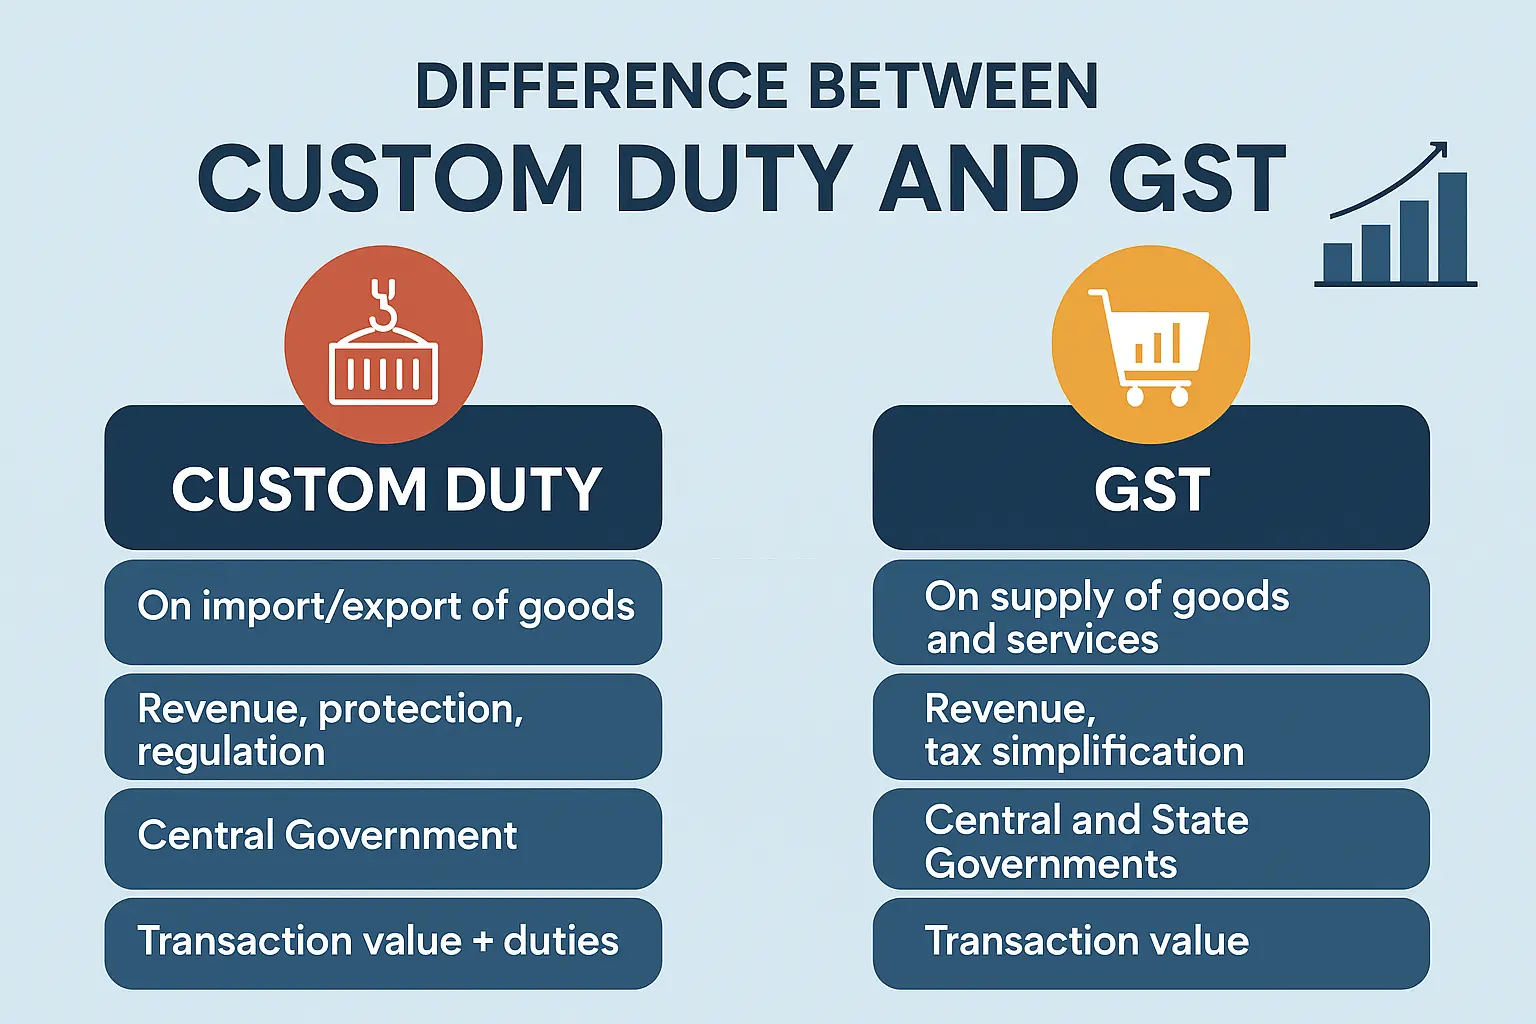
GST vs Customs Duty: Key Differences Every Import Export Business Must Know
-
- by MI
In the world of import-export business, understanding GST (Goods and Services Tax) and Customs Duty is crucial.
How to Minimize Customs Duty in Import Export Business: Smart Strategies for 2025
-
- by MI
Customs duty is one of the biggest cost components in the import-export business. High duties can make products expensive, affect competitiveness, and reduce profit…
Top Export Challenges and How to Overcome Them: A Complete Guide for Exporters (2025)
-
- by MI
Exporting goods to international markets offers huge opportunities but also comes with multiple challenges.

How to Import Raw Materials to India Efficiently: Step-by-Step Guide for Businesses
-
- by MI
Importing raw materials is a crucial part of many businesses in India, from manufacturing to pharmaceuticals and textiles. Efficient import practices can save time,…
Top Export Challenges in India and How to Overcome Them: Complete Guide for Exporters (2025)
-
- by MI
Key export challenges for Indian businesses in 2025 include geopolitical issues, supply chain disruptions, regulatory compliance, currency fluctuations, high logistics…
How to Get International Trade Certifications for Export: Step-by-Step Guide for Indian Exporters
-
- by MI
International trade certifications are essential for exporters to access global markets, comply with international standards, and build trust with buyers. Certifications…

How to Register a Partnership Firm for Import Export Business in India: Step-by-Step Guide (2025)
-
- by MI
Starting an import-export business in India as a partnership firm requires proper registration and compliance with government rules. Registering your partnership firm…
How to Download Import & Export Invoices from ICEGATE and DGFT Portals: A Step-by-Step Guide
-
- by MI
For businesses engaged in international trade, accessing and downloading import and export invoices from official portals like ICEGATE and DGFT is crucial for compliance…
EPCG scheme step by step process for exporters
-
- by MI
The Export Promotion Capital Goods (EPCG) Scheme allows Indian exporters to import capital goods at zero customs duty</strong> to enhance production for exports.…
How to Apply for RoDTEP Scheme (2025) — Step-by-Step Guide for Exporters
-
- by MI
Step-by-step guide to apply for RoDTEP (Remission of Duties & Taxes on Exported Products) in 2025. Learn eligibility, how to declare in the shipping bill, create…
Top Government Schemes for Exporters in India — Step-by-Step Guide
-
- by MI
India’s export sector is supported by multiple government schemes designed to help exporters reduce costs, access global markets, and improve competitiveness. In this…
How to Get Your First Order in Export Business
-
- by MI
how to get first export order, how to get first order in export business, export business first order step by step, find buyers for export business, export order…
Best Shipping & Logistics Partners in India by Product Category (2025)
-
- by MI
For Indian exporters, choosing the right shipping and logistics partner is critical to success. Different products require different handling — from fragile handicrafts…
Top Shipping & Logistics Partners for Indian Exporters – 2025 Guide
-
- by MI
If you're exporting goods from India, choosing the right shipping & logistics partner can make all the difference. From documentation to freight forwarding,…

Top Indian Handicrafts with High Demand in Global Markets – Export Guide 2025
-
- by MI
India is known worldwide for its rich tradition of handicrafts.
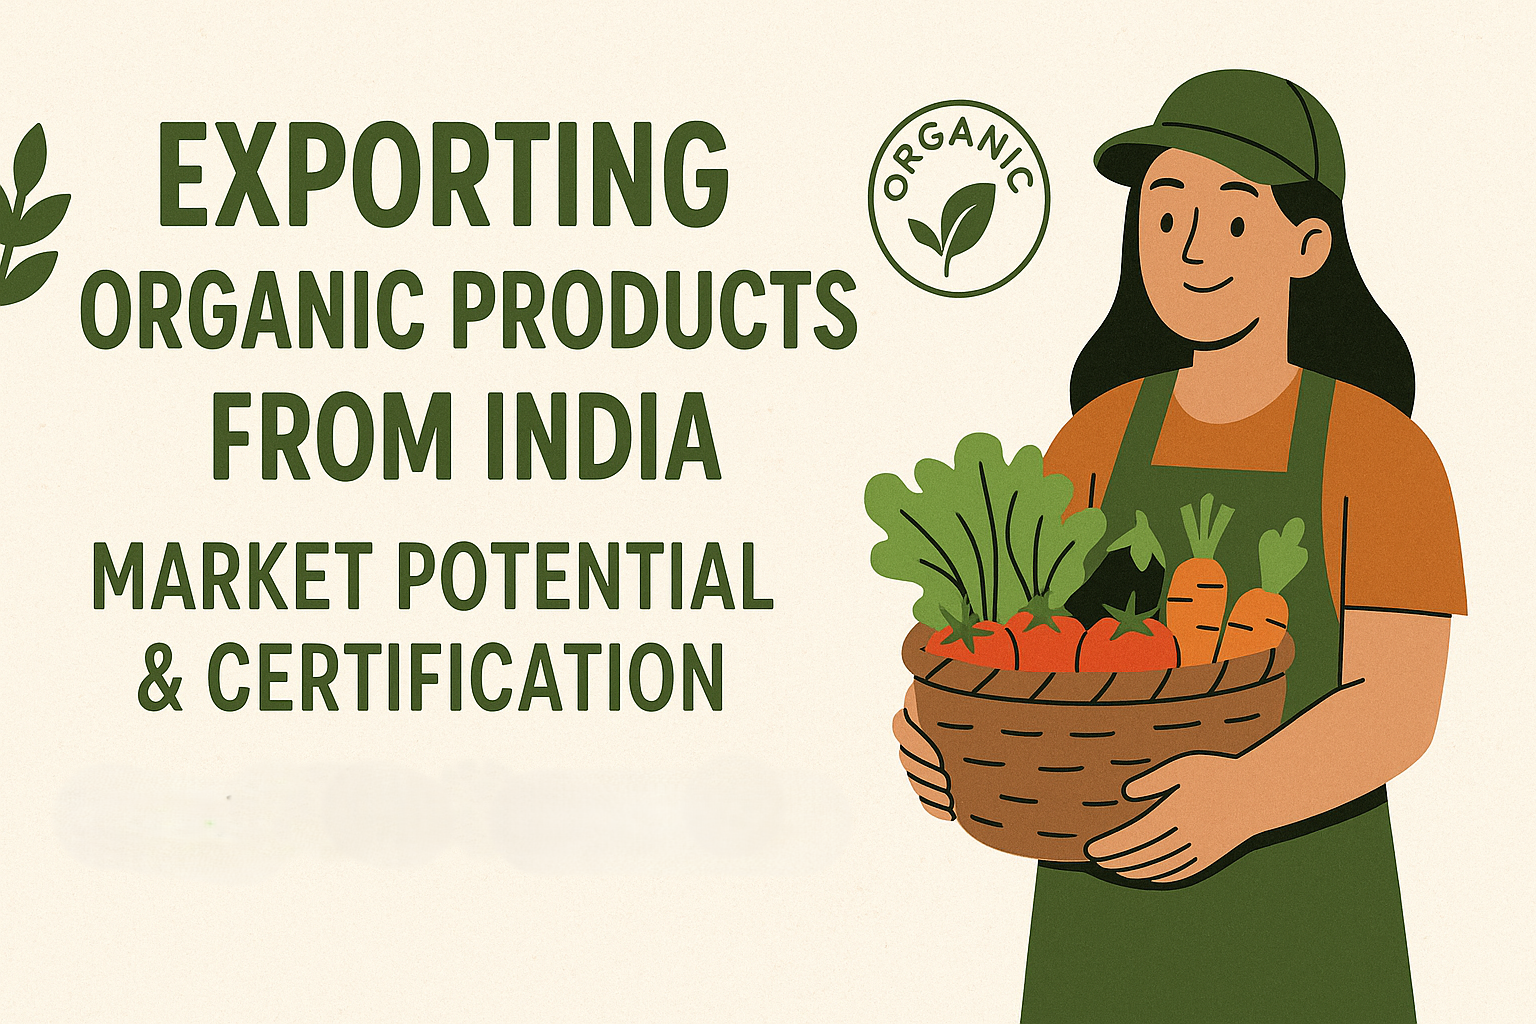
How to Export Organic Products from India: Certifications & Process
-
- by MI
Learn how to export organic products from India with mandatory certifications like NPOP, APEDA, USDA, and get a complete step-by-step export process.
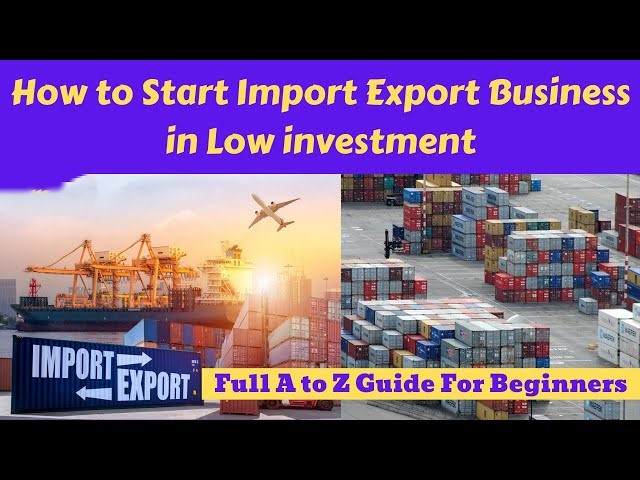
Top Import Export Business Ideas with Low Investment in India
-
- by MI
Looking for low investment import export business ideas in India? Discover profitable opportunities, step-by-step guidance, and best products to start an import export…
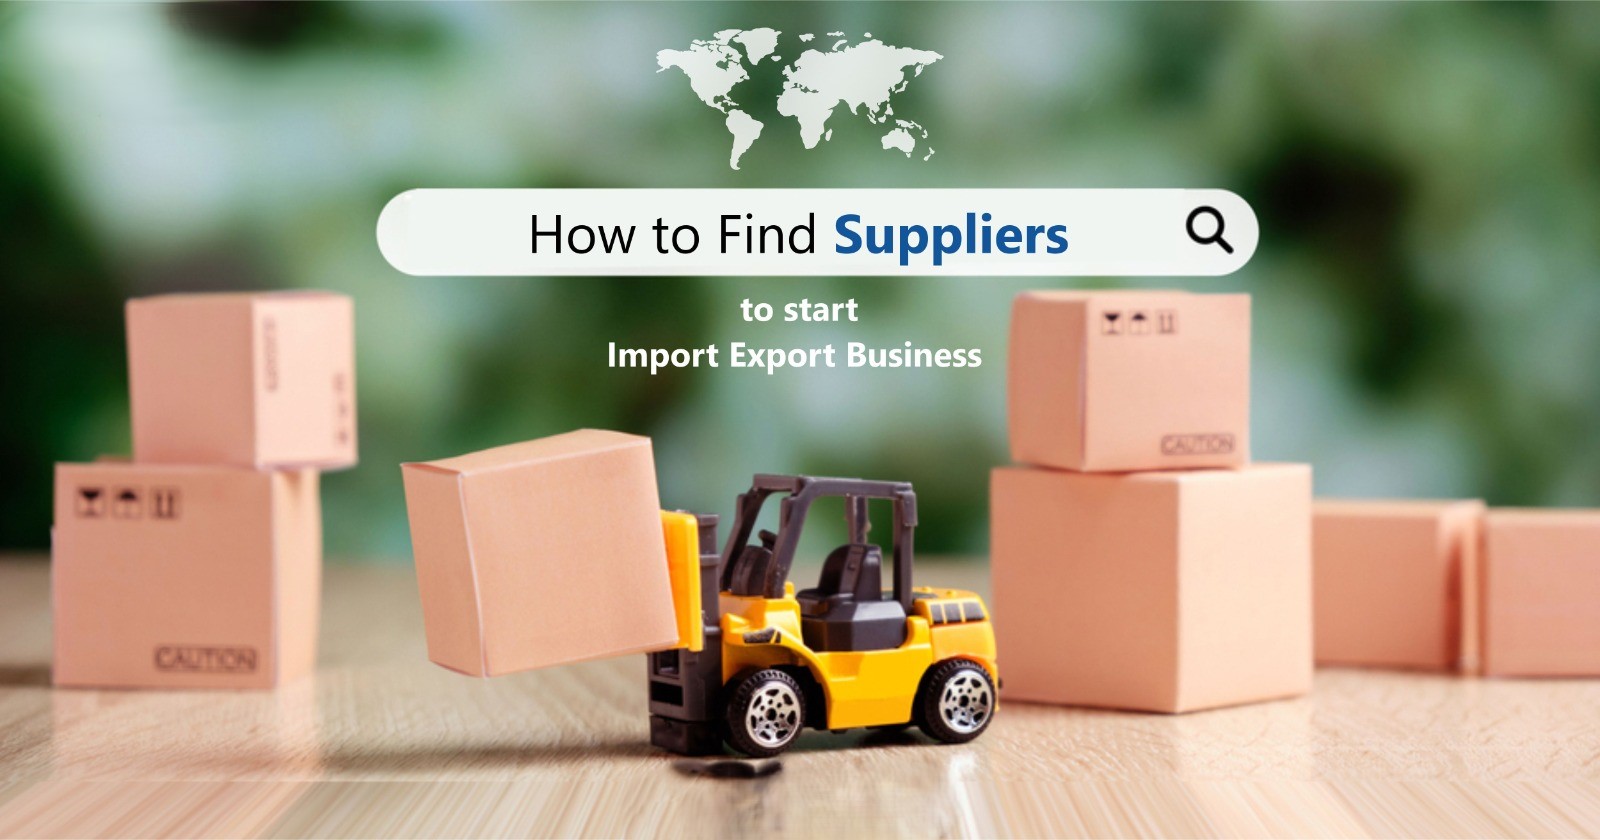
How to Find Reliable Suppliers for Import Export Business: Step-by-Step Guide
-
- by MI
Learn how to find reliable suppliers for import export business. Discover step-by-step strategies, sourcing platforms, supplier verification methods, and tips to avoid…
State-Wise Famous Export Products from India – Complete 2025 Guide
-
- by MI
India is one of the largest exporters in the world, with different states specializing in specific products. Knowing the top export items from each state can help…
Book Container Shipping Cost for Import Export in 2025 – Complete Guide
-
- by MI
Learn the complete guide on book container shipping costs for import and export in 2025. Compare 20 ft and 40 ft container rates, regional costs, and tips to reduce…

How to Export Textiles from India to the Middle East: Step-by-Step Guide
-
- by MI
India is one of the largest exporters of textiles in the world. The Middle East presents a growing market for Indian textile products, including cotton fabrics, silk,…
How to Import Electronics from China to India — Step-by-Step Guide for Importers
-
- by MI
Practical step-by-step guide to import electronics from China to India in 2025. Covers supplier selection, Incoterms, sample checks, BIS/TEC/WPC approvals, IEC, customs…
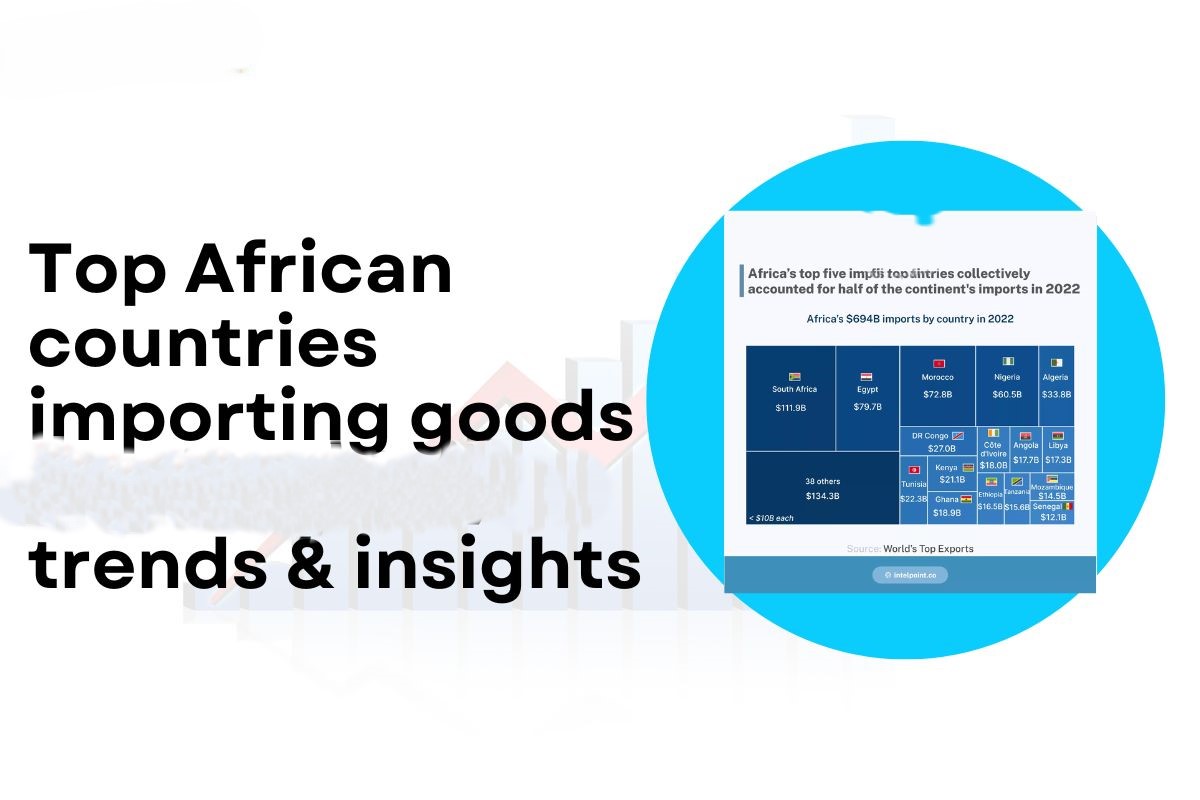
Best African Countries to Export from India: Profitable Export Guide for Indian Businesses
-
- by MI
Discover the best African countries to export from India. Learn top markets, profitable products, trade opportunities, and step-by-step tips for Indian exporters in…
Export Business Opportunities in Europe for Indian Companies
-
- by MI
Export business opportunities in Europe for Indian companies, how to export to Europe from India, profitable export products for Europe, Indian exporters guide to…
How to Export Goods to USA from India: Step-by-Step Guide for Exporters
-
- by MI
Learn how to export goods to USA from India step by step. Covers product selection, compliance, documentation, shipping, payment, customs clearance, and tips for Indian…
How to Grow a Small Export Business in India: Step-by-Step Guide for Exporters
-
- by MI
Practical step-by-step tips to grow your small export business in India — from product validation, pricing, compliance and logistics to marketing, payments, and scaling…

How to Negotiate with International Buyers Effectively: Step by Step Guide for Exporters
-
- by MI
In the competitive world of global trade, negotiation skills can make or break an export deal.

Foreign Currency Exchange Tips for Exporters to Reduce Risk and Maximize Profit
-
- by MI
For every exporter, foreign currency exchange plays a crucial role in determining profit margins. Currency fluctuations can either boost your earnings or cause…
How Exporters Can Handle Rejections from International Buyers
-
- by MI
Rejection happens — but it can be a win if you treat it like market feedback.
Common Mistakes Exporters Make and How to Avoid Them
-
- by MI
Exporting is rewarding — but small mistakes can be expensive. This practical, step-by-step guide highlights the most common exporter errors and shows exactly how to…
Which B2B marketplace is best for exporters?
-
- by MI
The best B2B marketplace for exporters depends on your product type, target market, and business size.
Best Platforms to Find International Buyers
-
- by MI
Finding reliable international buyers is one of the biggest challenges for exporters.
Learn how to calculate import & export profit margins step-by-step
-
- by MI
Knowing your true profit margin in international trade requires more than subtracting cost from price. You must calculate the total landed cost (all costs from factory…
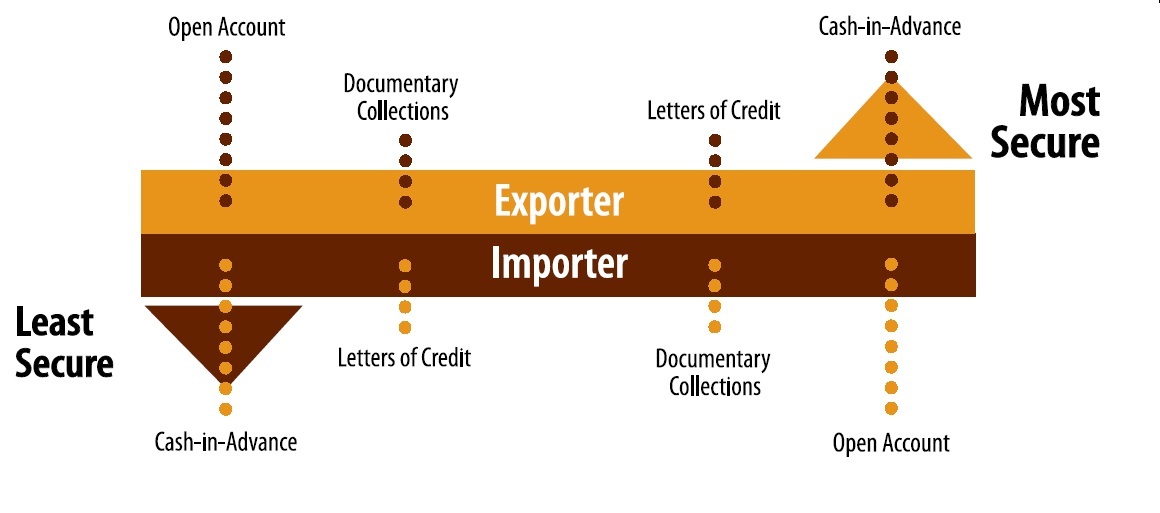
Which Is the Safest Payment Method for Exporters?
-
- by MI
The safest payment methods for exporters are Cash in Advance (CIA) and Letters of Credit (LCs).

How to Get Paid Faster by International Clients: Step-by-Step Guide
-
- by MI
Offer Multiple Payment Options: Providing various payment methods (bank transfer, credit card, online payment platforms) can facilitate quicker transactions. Build…
Payment Methods in Import Export Business Explained
-
- by MI
Payment methods import export, letter of credit explained, documentary collection D/P D/A, advance payment export, open account export, consignment export, trade finance…
Packaging Tips for Safe Export of Goods
-
- by MI
To safely export goods, use high-quality, robust packaging materials like strong corrugated boxes or heat-treated timber crates, properly cushion and fill empty spaces…
How to Track Your International Shipments
-
- by MI
Tracking international shipments is a crucial step in the import-export process. It allows businesses to monitor the progress of their goods in real-time, ensuring…
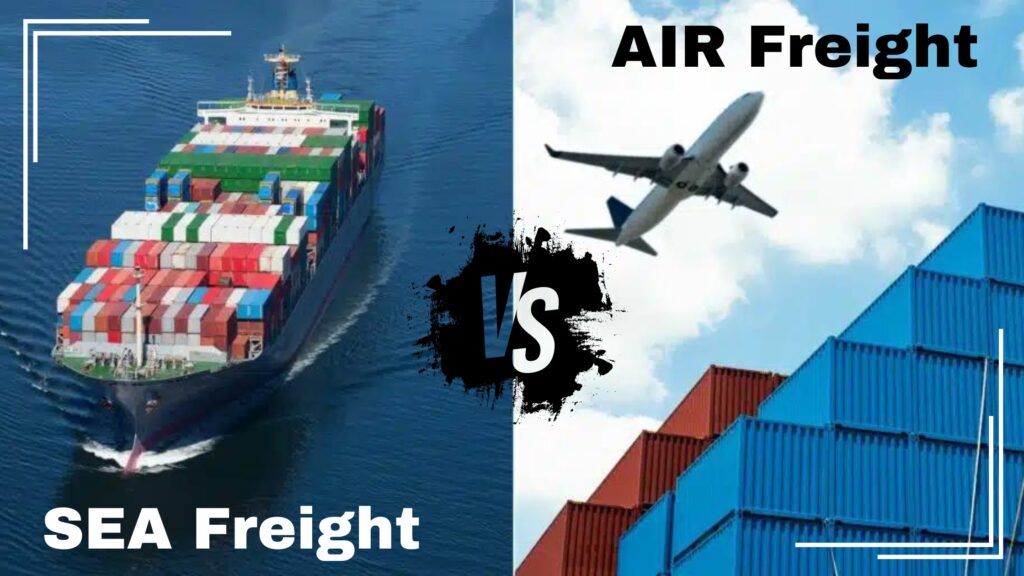
Air vs Sea Freight: How to Choose the Best Shipping Method for Your Business
-
- by MI
Air vs Sea Freight, air freight vs sea freight, best shipping method for business, international shipping comparison, import export logistics, air freight cost, sea…

Container Booking Guide for Exporters: Step-by-Step Process
-
- by MI
Exporting goods internationally requires careful planning, and container booking is a critical part of the process. Whether you are a small exporter or a seasoned trader…
How to Reduce Shipping Costs in Import Export Business
-
- by MI
To reduce shipping costs in the import-export business, optimize packaging by reducing size and weight and consolidating shipments.
Exporting Spices from India: Complete Guide
-
- by MI
India is globally recognized for its rich variety of spices, making it one of the top spice exporters in the world. From cardamom to turmeric, Indian spices are in high…

Global Trade Trends Every Exporter Should Know
-
- by MI
In today’s fast-paced global economy, exporters face constant changes in market dynamics, trade policies, and consumer behavior.
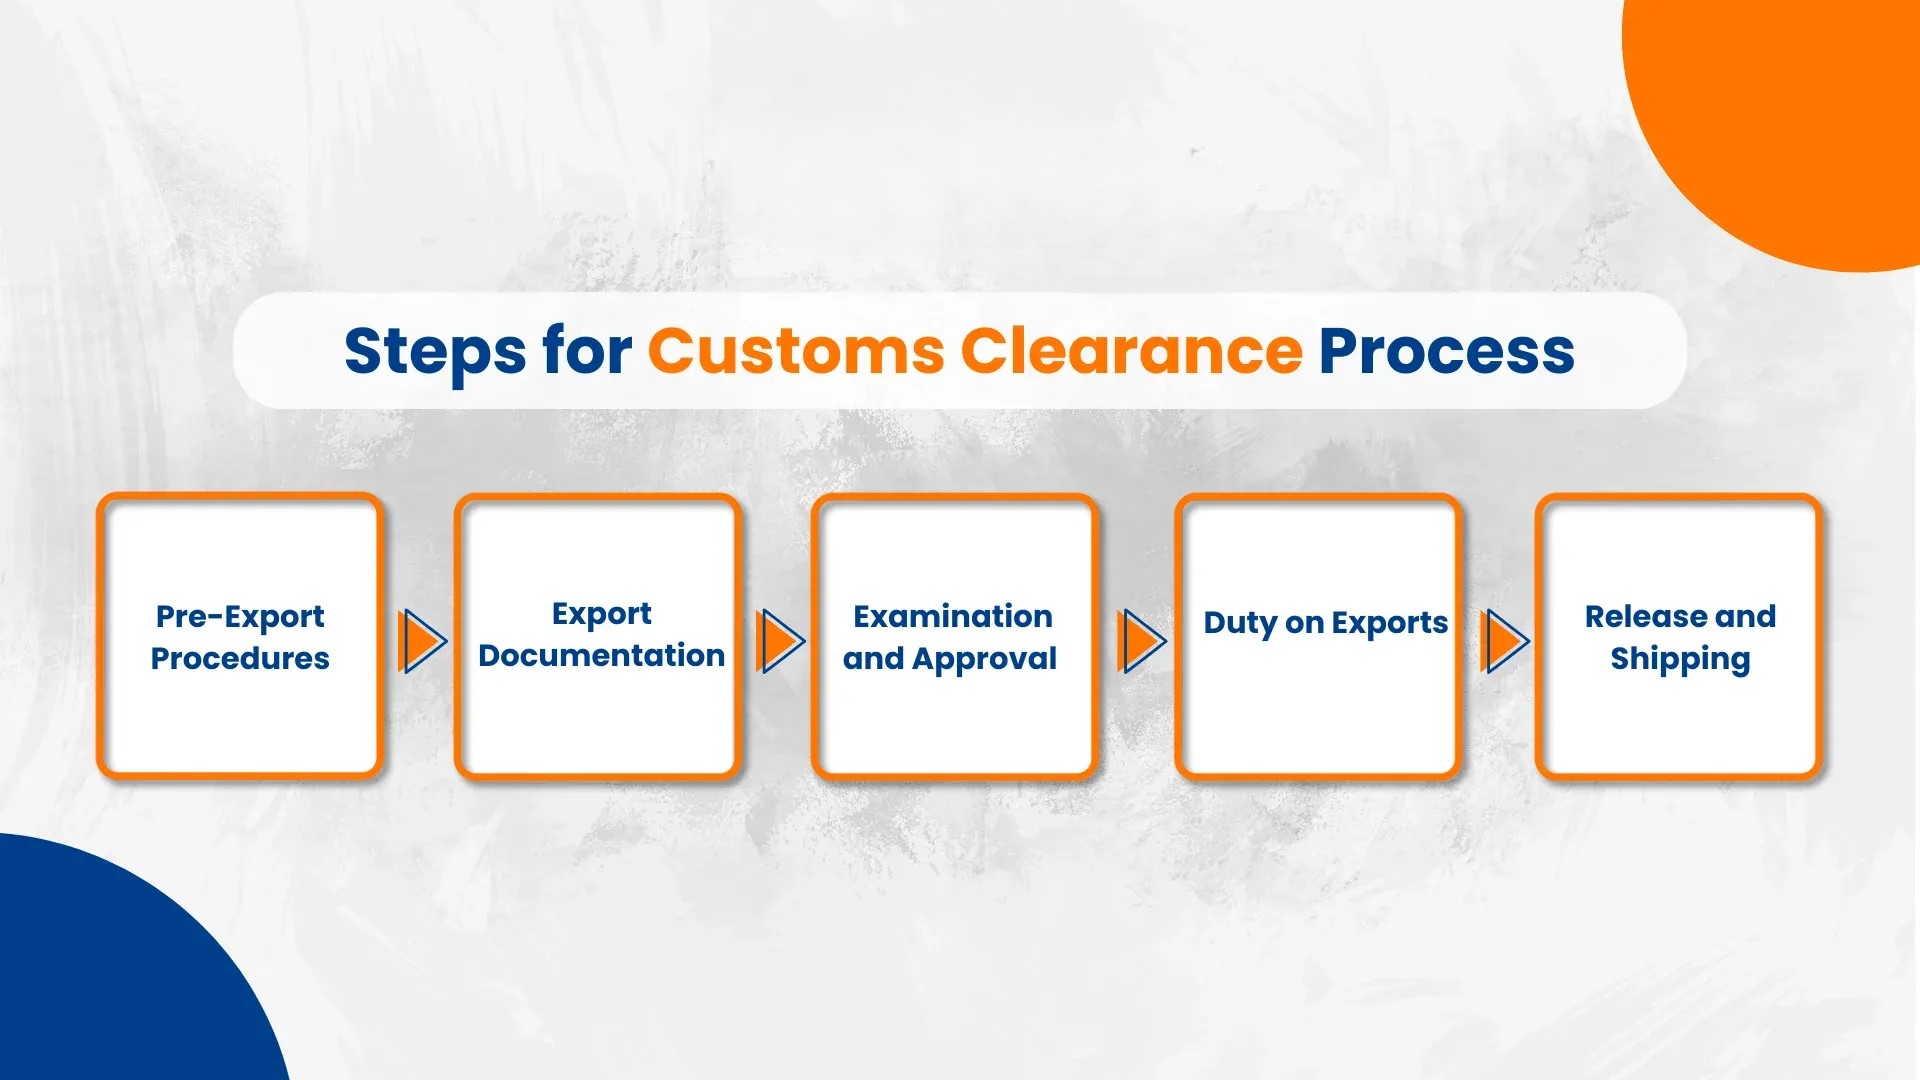
Customs Clearance Process Explained: Step-by-Step Guide for Import & Export
-
- by MI
Navigating customs can be complex. Understanding the customs clearance process helps ensure smooth import and export of goods.
How Much Capital Do You Need to Start an Export Business in India?
-
- by MI
Starting an export business can be exciting, but one of the first questions entrepreneurs ask is: “How much capital do I need to start?” This guide breaks down costs and…
Documents & Certificates Required for Import-Export in India
-
- by MI
Starting an import-export business in India requires careful planning and compliance with legal requirements.
Top Export Products in 2025 – Boost Your International Trade Business
-
- by MI
Top Export Products in 2025: High-Demand Goods for Global Markets
Export Documentation Guide: Essential Papers for Smooth International Trade
-
- by MI
Learn all the essential export documents required for international trade. Ensure smooth export operations with our complete export documentation guide.
How to Find Buyers and Suppliers for Import-Export Business
-
- by MI
Discover effective strategies to find reliable buyers and suppliers for your import-export business. Boost international trade with verified tips and resources.
Customs Clearance for Import-Export Containers: 8 Essential Tips to Avoid Delays
-
- by MI
Importing and exporting goods across international borders is an exciting opportunity, but it comes with one of the most critical steps in global trade—customs clearance.
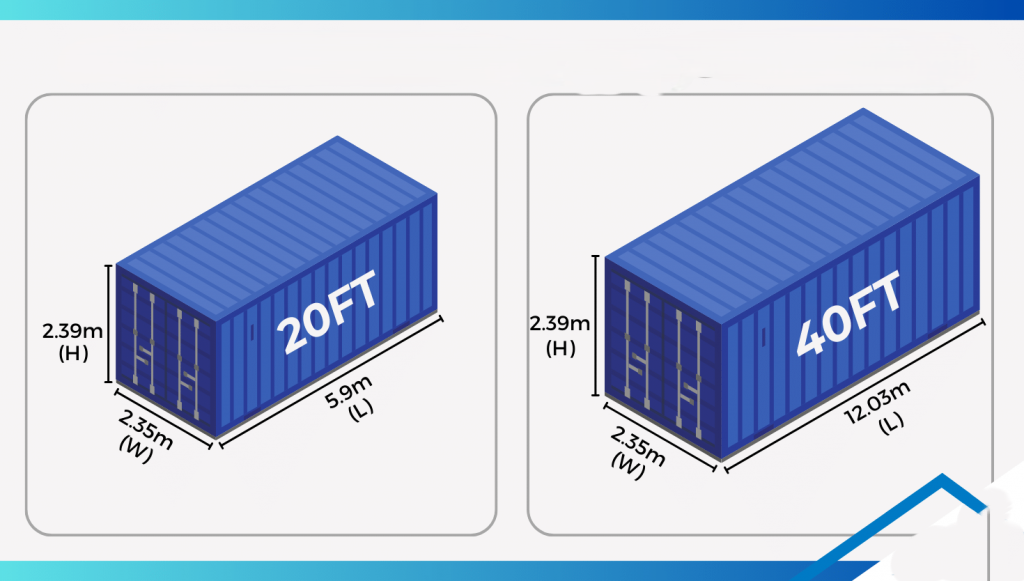
20ft vs 40ft Container: Sizes, Dimensions, and Specifications Explained
-
- by MI
When shipping goods in the import-export business, one of the first decisions you’ll face is: Should I use a 20ft container or a 40ft container?

The Complete Guide to Shipping Containers in Import-Export Business
-
- by MI
If you are starting an import-export business, one of the most important things you must understand is shipping containers
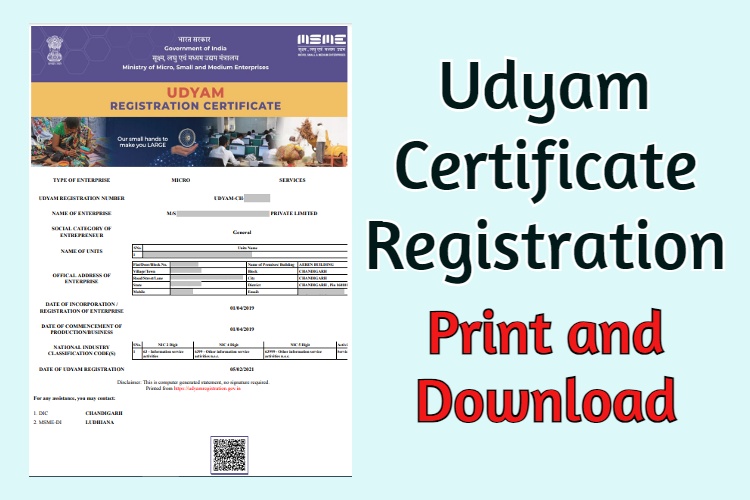
How to Register for Udyam Certificate (MSME Registration)
-
- by MI
Are you a small business owner or entrepreneur in India? Registering for the Udyam Certificate (MSME Registration) can help you access government benefits like loans,…
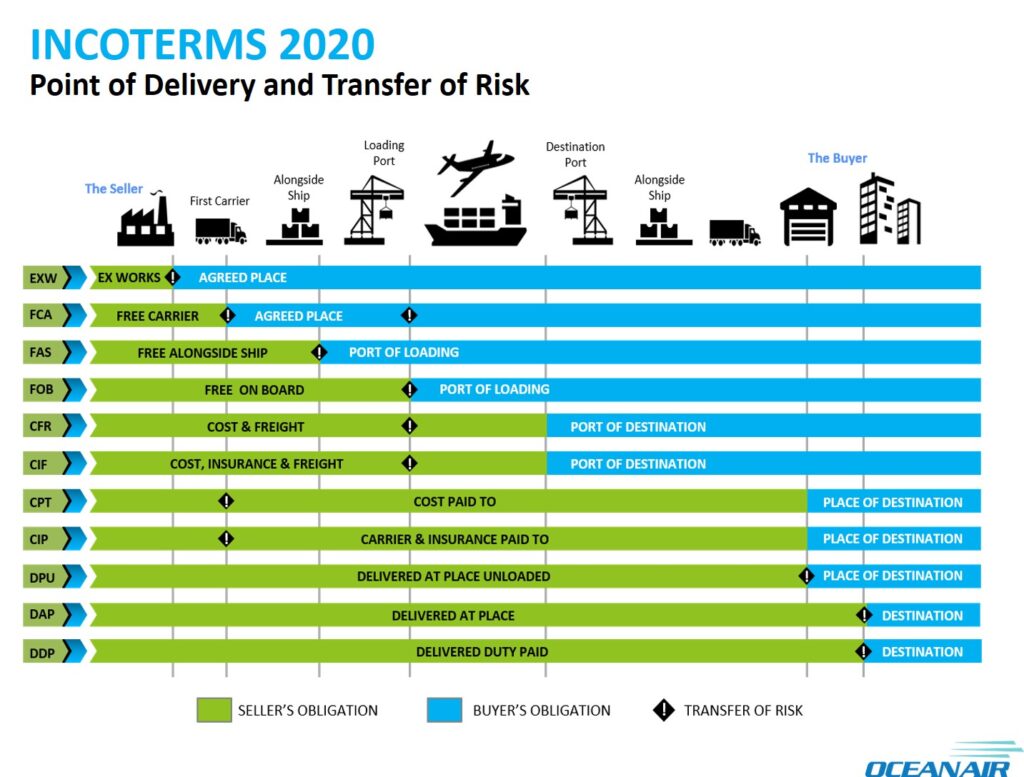
What are Incoterms?
-
- by MI
Incoterms (International Commercial Terms) are globally recognized rules published by the International Chamber of Commerce (ICC). They define the responsibilities of…
How to Register for BIS Certification in India – Step by Step Guide
-
- by MI
The Bureau of Indian Standards (BIS) is the national standards body of India, responsible for setting quality and safety benchmarks for products.

How to Get a Phytosanitary Certificate: A Step-by-Step Guide
-
- by MI
A Phytosanitary Certificate (PC) is issued by the Plant Protection Department or equivalent authority in your country.
How to Get FSSAI License in India: Complete Step-by-Step Guide for 2025
-
- by MI
An FSSAI license is a certification issued by the Food Safety and Standards Authority of India. It is proof that your food business complies with all safety and hygiene…
How to Get RCMC (Registration-Cum-Membership Certificate) Online: Step-by-Step Guide for Exporters”
-
- by MI
RCMC stands for Registration-Cum-Membership Certificate. It is issued by Export Promotion Councils (EPCs), Commodity Boards, or FIEO to exporters in India.

How to Renew/Update IEC Online: A Step-by-Step Guide
-
- by MI
The Import Export Code (IEC) is a mandatory 10-digit registration number issued by DGFT for businesses involved in international trade.
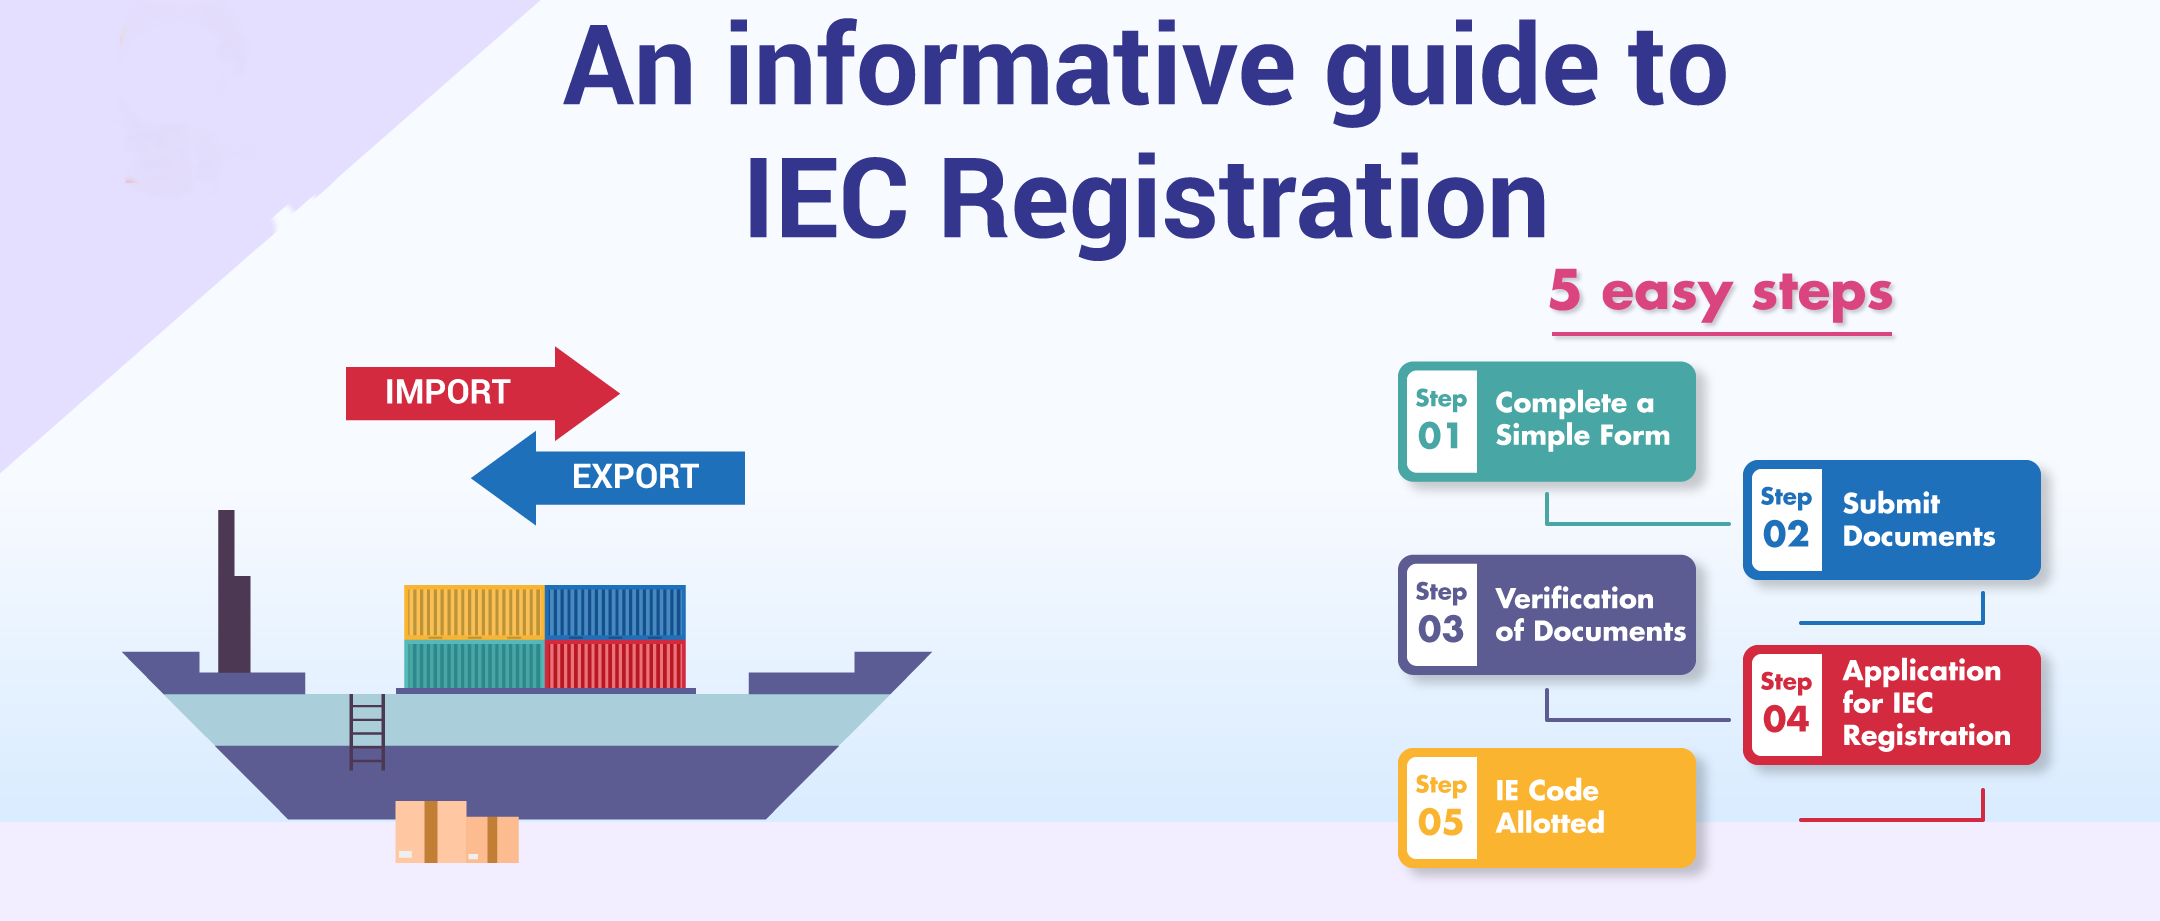
How to Get an IEC (Import Export Code) in India – Step by Step Guide
-
- by MI
IEC (Import Export Code) is a 10-digit number required for importing or exporting goods in India. It is linked with your PAN card and is unique for every business or…
How to get apeda certificate
-
- by MI
APEDA (Registration-cum-Membership Certificate, or RCMC) application process—showing the registration form, step-by-step flowcharts, and checklist-style breakdowns. Now…
Comments
Add new comment